Lesson 1: Configuring the Demo Application #
This lesson goes over the following:
- Install Ingress-Nginx on your Kubernetes cluster
- Import this project to the workspace
- Adding the Kubernetes cluster as a deploy target
- Deploying the application
Make sure that you have the prerequisites detailed in the homepage before proceeding
Install Ingress-Nginx on your Kubernetes cluster #
For us to be able to access the application we must install an ingress-controller. While there are many ingress controllers to chose from, I have decided to use ingress-nginx, since it directly supported by the Kubernetes community.
- Access your Kubernetes cluster
gcloud container clusters get-credentials $YOUR_CLUSTER --zone $YOUR_ZONE --project $YOUR_PROJECT
- Verify your helm installation
helm version
- Install Ingress-Nginx via Helm
helm install ingress-nginx ingress-nginx --repo https://kubernetes.github.io/ingress-nginx --namespace ingress-nginx --create-namespace --timeout 17m
- Verify that the ingress-controller has an External-IP
kubectl --namespace ingress-nginx get services -o wide -w ingress-nginx-controller
- Ping and send a request to verify the External-IP is accepting traffic
ping $EXTERNAL_IP
curl $EXTERNAL_IP
A 404 response is normal since nothing is currently being hosted on our cluster
Import this project to the workspace #
Here we will import the sample project which we will use through this workshop.
Login to GitLab.com
On the left side-panel click on Projects, or you can navigate to https://gitlab.com/projects/new
Select Import project
Press the Repo By URL button
Under Git repository URL add the following URL:
https://gitlab.com/gitlab-da/tutorials/security-and-governance/tanuki-shop.git
Under Project URL, select the group in which you have an Ultimate License
Under Visibility Level select Public
Public is set so that we don't need to take extra steps to be able to pull from a private container-registry[1] [1]https://chris-vermeulen.com/using-gitlab-registry-with-kubernetes/
Press the Create project button
Wait for the project to be imported. It will take a few seconds. You should be redirected to the newly imported project along with the message The project was successfully imported
Adding the Kubernetes cluster as a deploy target #
In this section we will be installing the GitLab Kubernetes Agent to interact with the cluster and deploy our Kubernetes manifests
Click on the Operate > Kubernetes clusters in the left navigation menu
Click on the Connect a cluster (agent) button
In the popup, under Option 2: Create and register an agent with the UI, type in juice and press the Create and register button
Open a terminal and connect to your cluster
gcloud container clusters get-credentials $YOUR_CLUSTER --zone $YOUR_ZONE --project $YOUR_PROJECT
- Copy and paste the provided command to your terminal in order to deploy the agent onto your cluster:
helm repo add gitlab https://charts.gitlab.io
helm repo update
helm upgrade --install tanuki gitlab/gitlab-agent \
    --namespace gitlab-agent-tanuki \
    --create-namespace \
    --set config.token=$YOUR_TOKEN_HERE \
    --set config.kasAddress=wss://kas.gitlab.com
- Verify the Kubernetes Agent is running
kubectl get pods -n gitlab-agent-tanuki
Deploying the application #
Now let’s run a pipeline to deploy the application to our Kubernetes cluster.
Click on the Build left navigation menu and click on Pipelines
Click on Run Pipeline
Ensure that the main branch is selected
Press the Run Pipeline button, the screen should refresh and you should now see the pipeline running on your project
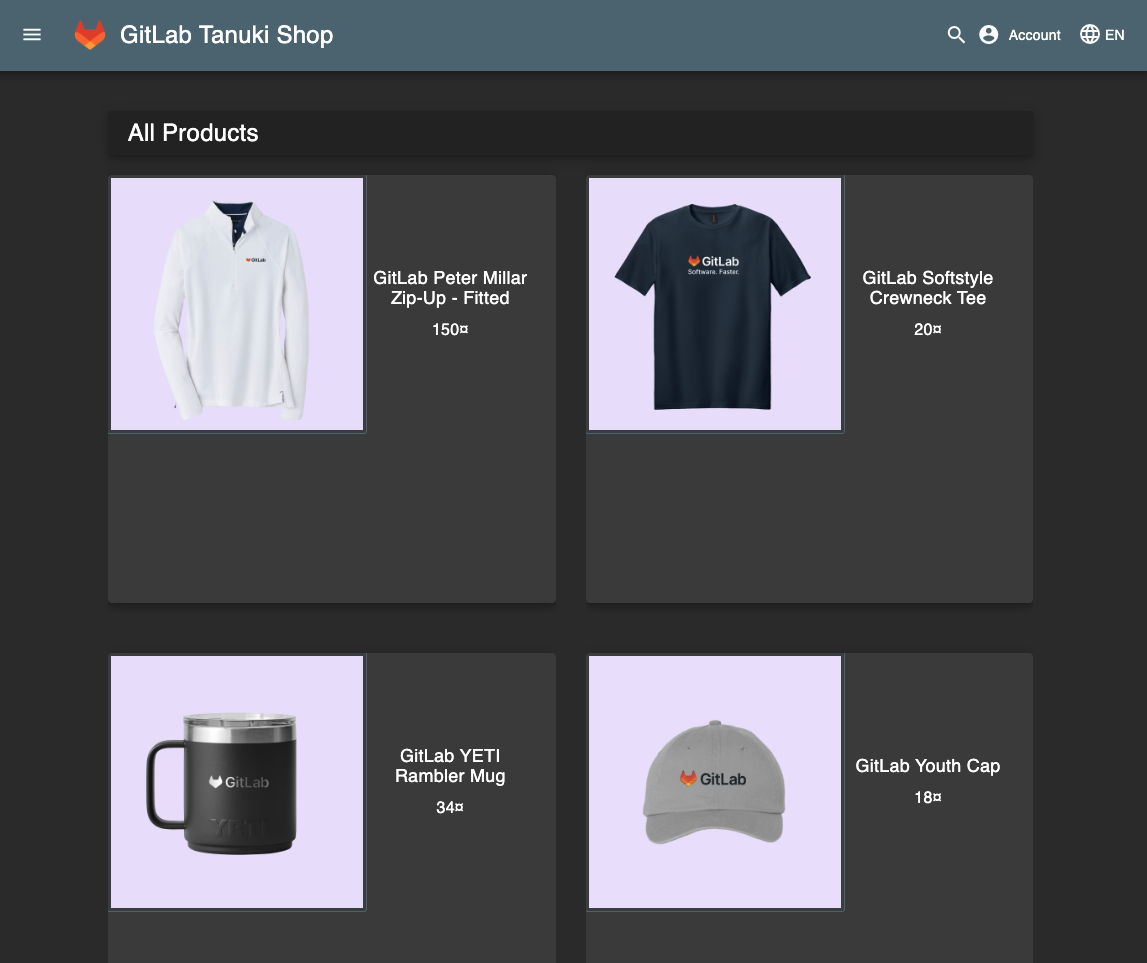
To access your application, once the pipeline completes click on the Operate left navigation menu and click on Environments
Find the tanuki-main environment and click the Open button. You should now see the following:
Now that we have successfully deployed the application, we can move on to going over how to setup and configure security scanners and policies.